The Dreaded Click-Clack: A Nail-Trimming Tale
The other week, I was enjoying a quiet cuppa when I heard it. The tell-tale ‘click, clack, click’ of long nails on the kitchen floor. It was Fern, my whirlwind of a Spaniel, whose nails seem to grow if you so much as look at them. I retrieved the clippers from the drawer, and she immediately shot me a look of utter betrayal before skittering under the table. It’s a familiar scene in many homes, that stand-off between owner, dog, and a tiny tool that holds so much power to create stress.
Cutting a dog’s nails is nerve-wracking enough, but when they have black nails, it feels like you’re trying to defuse a bomb in the dark. Where on earth is that dreaded ‘quick’? Cut too little and you’ve achieved nothing. Cut too much, and… well, let’s just say nobody has a good time. But don’t chuck the clippers in the bin just yet. With a bit of know-how and a lot of patience, you can turn this dreaded chore into a manageable task. Let’s get to it.
What’s Actually Inside That Black Nail? A Quick Look
Before you start snipping, it helps to know what you’re dealing with. A dog’s nail isn’t just a bit of hard stuff; it has a complex structure. Think of it in two parts:
- The Nail (Keratin): This is the hard, outer shell. It’s dead tissue, just like your own fingernails, and has no feeling. This is the bit you want to cut.
- The Quick: This is the living part inside the nail. It’s a soft pulp containing a nerve and a blood vessel. On light-coloured nails, it’s easy to spot as a pinkish section. On black nails, it’s completely hidden, which is the root of the problem.
Cutting the quick is painful for your dog and will cause bleeding. The goal of every nail trim is to shorten the hard keratin shell without ever touching this sensitive core.
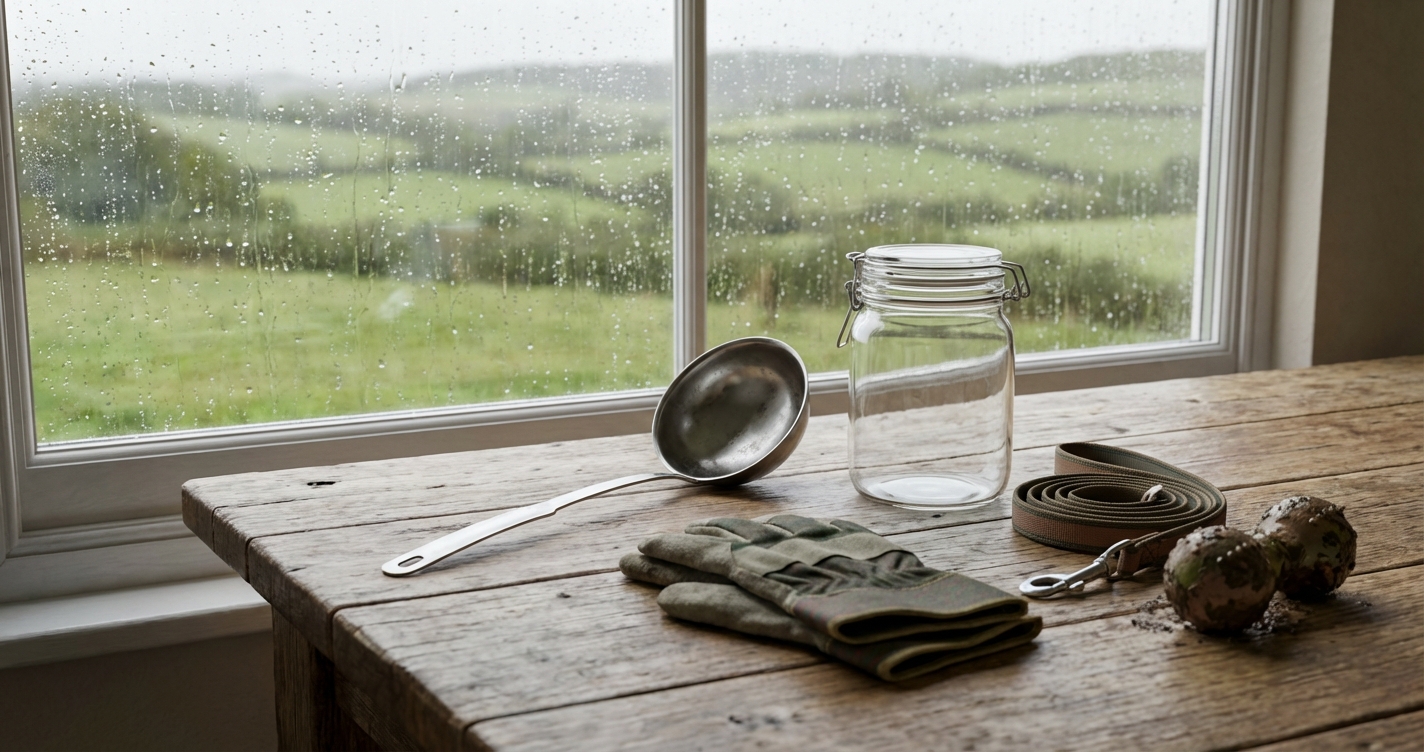
Getting Your Kit Together
You wouldn’t try to build a flat-pack wardrobe with just a spoon, and you shouldn’t tackle dog nails without the right gear. Here’s my practical, no-fuss list of essentials:
- Sharp Nail Clippers: Don’t skimp here. A blunt pair will crush the nail rather than cut it, which is uncomfortable for your dog. There are two main styles: the ‘scissor’ type (which I prefer for my lot) and the ‘guillotine’ style. Pick what feels most comfortable in your hand.
- Styptic Powder: This is your emergency stop. If you do accidentally snip the quick, a dab of this powder will stop the bleeding almost instantly. You can get it from any pet shop. In a pinch, a bit of cornflour from the pantry can also work, but proper styptic powder is best.
- A Good Torch: Your phone torch will do nicely. This can sometimes help you get a better idea of where the quick might be hiding.
- High-Value Treats: We’re not talking about their usual dry biscuits. Think tiny bits of cheese, chicken, or whatever makes your dog’s eyes light up. This is their payment for being a brave soldier.
The Real Secret: Turning Nail Trims from a Battle into a Breeze
Here’s the biggest piece of advice I can give, and it has nothing to do with cutting. The aim is to teach your dog that nail trims aren’t something to be feared. This is all about cooperative care and desensitisation. It takes time, but it’s worth every second.
The Golden Rule: Go at your dog’s pace and keep sessions short and happy. If they show signs of stress (lip licking, yawning, pulling their paw away), stop for the day and end on a positive note with a treat.
A Simple Desensitisation Plan:
- Step 1: Just the Tools. For a few days, just leave the clippers on the floor near your dog’s bed. Place treats on and around them. Let your dog investigate them without any pressure. The clippers become part of the furniture.
- Step 2: Touch and Treat. Start getting your dog used to you handling their paws. Gently touch a paw for a second, say “yes!” in a happy voice, and give a treat. Repeat this over several days, gradually increasing the time you hold their paw.
- Step 3: Introduce the Clippers. Once they’re happy with paw-handling, hold the clippers in one hand while you touch their paw with the other. Don’t cut anything. Just get them used to the sight and feel of the tool near their feet. Touch a nail with the clippers, then treat.
- Step 4: The First Snip. When your dog is completely relaxed with the above, try trimming the tiniest sliver from the very tip of just one nail. Immediately follow up with lots of praise and a jackpot of treats. Then stop. That’s it for the day.
By breaking it down like this, you’re building a foundation of trust. You’re showing them that good things happen when the clippers appear.
The Main Event: How to Actually Cut the Nails
Right, you’ve got your kit, your dog is reasonably calm, and you’ve had your brew for courage. Let’s get down to the business end.
Method 1: The ‘Little by Little’ Slice
This is the safest and most reliable method for black nails. Forget trying to take a big chunk off in one go. The key is to take tiny slivers off the end of the nail.
- Hold your dog’s paw firmly but gently. Separate one toe.
- Position the clippers to snip just the very tip of the nail, straight across.
- After the first tiny snip, look at the cut surface of the nail.
What to Look For: Spotting the ‘Bullseye’
This is the crucial part. As you take tiny slices, the appearance of the cut nail end will change. This is your map to finding the quick.
- The Start: The cut surface will look white, grey, or chalky. This is the dead keratin. You are safe to continue.
- The Warning Sign: As you get closer to the quick, a small, dark grey or black dot will appear in the center of the cut surface. This is the ‘bullseye’. It’s the very beginning of the quick.
- The Stop Sign: As soon as you see that dot, STOP CUTTING. You have gone far enough on that nail.
Method 2: Let There Be Light (The Torch Technique)
For some dogs, particularly if their nails aren’t excessively thick, a bright torch can help. In a dim room, shine the torch from underneath the nail. You might be able to see a duller, darker shadow inside the nail – that’s the quick. This doesn’t work for all nails (Buster’s chunky Lab claws are impenetrable), but it’s worth a try.
Oh Heck, I’ve Cut the Quick. Now What?
First, don’t panic. It has happened to almost every dog owner at least once. It hurts them for a second, but they’ll be okay. The bleeding can look dramatic, but it’s easy to stop.
- Stay Calm: Your dog will pick up on your panic. Speak in a soothing voice.
- Apply Styptic Powder: Take a pinch of the powder and press it firmly onto the tip of the bleeding nail for about 30 seconds.
- Give Comfort and Treats: Once the bleeding has stopped, give your dog a cuddle and a special treat. End the session for the day on as positive a note as you can muster.
Is a Nail Grinder a Better Bet?
A nail grinder is an alternative to clippers. It’s essentially a small, pet-safe rotary sander that files the nail down.
The Good: It’s much harder to accidentally hit the quick. You can get a smoother finish, and you’re taking away tiny amounts of nail at a time.
The Not-So-Good: Some dogs are scared by the noise and vibration. You also need to be careful not to let the friction cause heat to build up on the nail, and long fur can get caught if you’re not careful. The same desensitisation process applies.
How Often Should I Be Doing This?
There’s no single answer. It depends on your dog’s breed, age, and how much time they spend walking on hard surfaces like pavements, which naturally grinds nails down. A good rule of thumb is if you can hear their nails clicking on the floor, they’re too long. For most, a trim every 3-6 weeks is about right.
Top Tip: Trimming a tiny bit more frequently is far less stressful than letting them get very long and having to take a big chunk off.
Frequently Asked Questions
My dog is terrified. What should I do?
Go right back to the beginning of the desensitisation plan. Don’t even try to cut a nail until your dog is comfortable with you handling their paws and seeing the clippers. Patience is everything. If the struggle is severe, it’s always better to ask a professional dog groomer for help.
Is it better to just go to a groomer?
There is absolutely no shame in this! If you’re not confident, or your dog is particularly difficult, a professional groomer has the experience and equipment to get it done quickly and safely. Your dog’s welfare is the top priority.
Related Posts