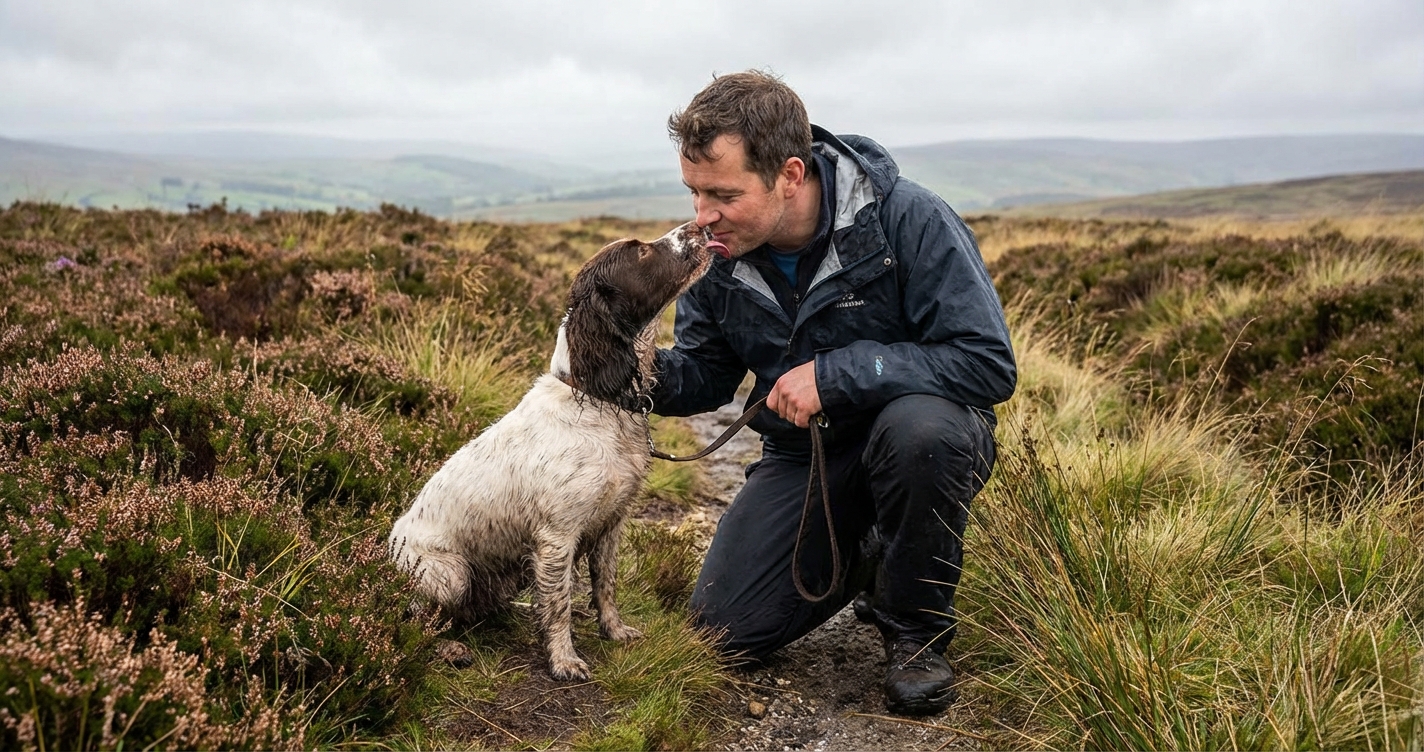
Confessions of a Bog-Dwelling Spaniel Owner
The other day, Fern the Spaniel discovered a bog. Not a puddle, mind. A full-scale, peat-filled, ‘welcome-to-the-moors’ sort of bog. She emerged five minutes later looking less like a dog and more like a mythical swamp creature, grinning from ear to floppy ear. My cream-coloured car was waiting patiently in the lay-by. It was at that moment, armed with one measly old towel, that I realised a proper paw-cleaning strategy isn’t just a nice-to-have; it’s an essential bit of kit for survival.
Here at Pardon My Pet HQ, the board of directors – Buster the food-obsessed Lab, the aforementioned Fern, and Margo the cat who rules the radiator – have helped me perfect the art of de-mudding. So, let’s get this sorted.
Why Bother? It’s More Than Just a Tidy House
Getting mud off your dog’s paws isn’t just about protecting your carpets. It’s a crucial part of keeping them comfortable and healthy. A quick clean allows you to check for some nasty surprises hiding in the fur.
- Grit & Stones: Tiny stones and bits of grit lodged between their paw pads can cause real pain and lead to limping or even infection if they break the skin.
- Grass Seeds: In late spring and summer, these pesky arrow-shaped seeds can burrow into the skin and cause serious problems, often requiring a trip to the vet.
- Winter Worries: Rock salt and chemical de-icers used on roads and pavements can be toxic if licked off and can severely irritate their pads.
- Pad Health: Constant wetness and packed-in mud can lead to sore, cracked pads and skin infections like dermatitis. A quick clean and dry goes a long way.
Key Takeaway: A 30-second paw check after a walk is one of the easiest ways to prevent a costly and stressful visit to the vet.
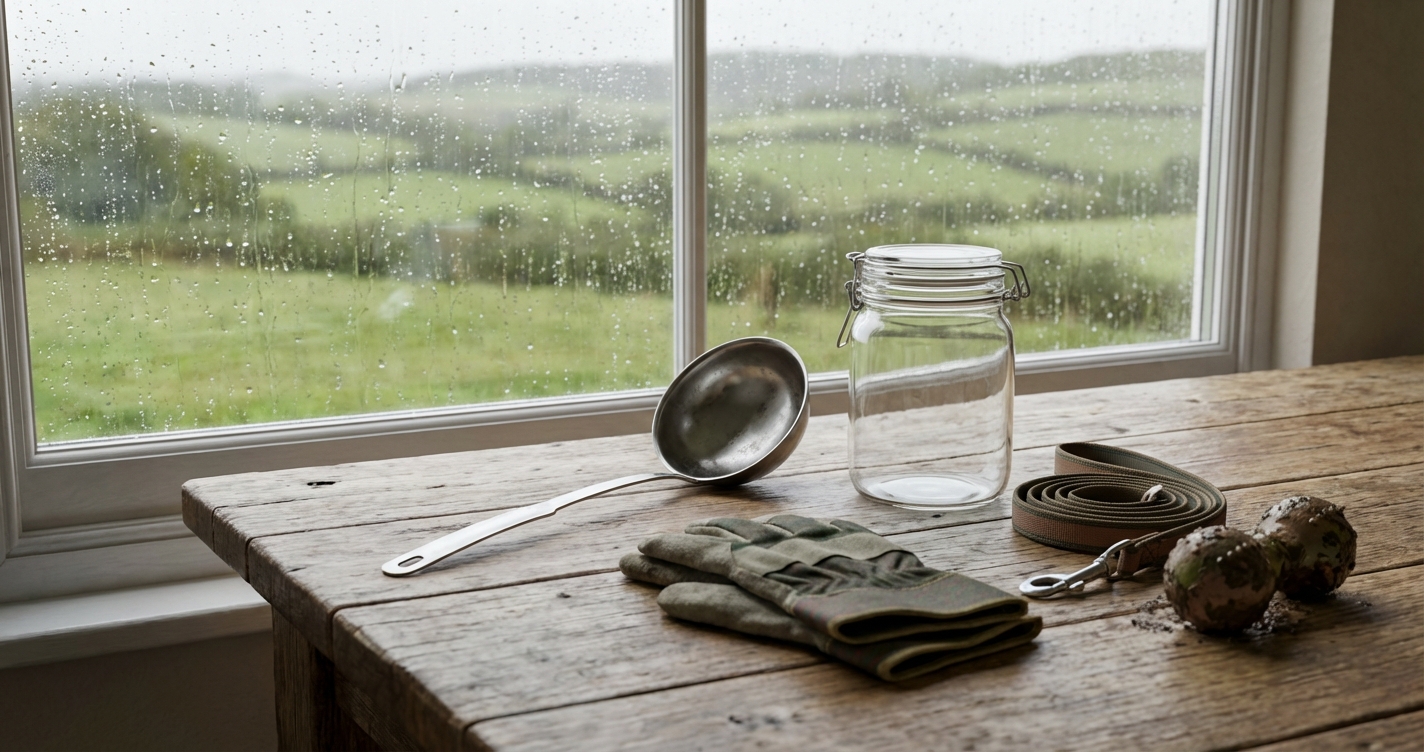
The Paw-Cleaning Arsenal: Choosing Your Weapon
There’s no single ‘best’ way to clean a mucky paw; it’s all about the right tool for the job. Here’s a practical rundown of the methods we’ve put through their paces in the Peak District.
Method 1: The Old-School Towel
Ah, the classic. A towel kept in the boot of the car is the absolute baseline. But we can do better.
- Pros: Cheap, simple, better than nothing.
- Cons: Tends to just smear the mud around. Doesn’t get the stubborn bits from between the toes. You end up with a sodden, stinking towel pretty quickly.
- The Upgrade: Ditch the old bath towel and get a couple of dedicated microfibre pet towels. They absorb a ridiculous amount of water and seem to ‘grab’ the mud much more effectively.
Method 2: The Bucket & Flannel Brigade
This is the go-to for a proper deep clean at the back door. It’s not glamorous, but by gum, it’s effective.
- Pros: Extremely thorough, cheap as chips, gets every last bit of grit.
- Cons: Impractical for the car boot, creates a fair bit of splash-back. You need access to fresh water.
- Our Practical Tip: Use a shallow tray or an old paint roller tray instead of a deep bucket. The dog can stand in it more comfortably. Always use lukewarm water – not too hot or cold – to avoid shocking their paws.
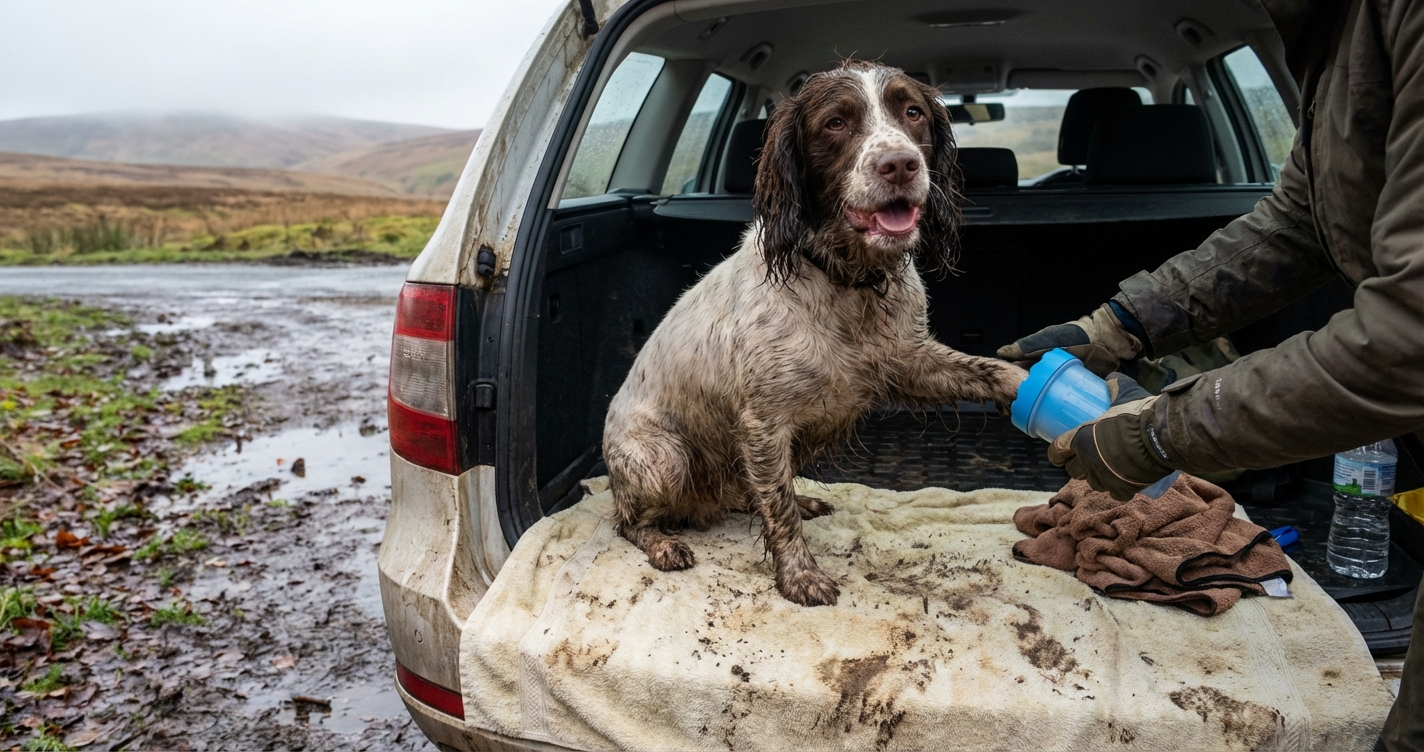
Method 3: The Paw Plunger Gadgets
You’ve seen these online. A little beaker with soft silicone bristles inside. You add water, pop a paw in, and twist. Do they work?
- Pros: Surprisingly effective at dislodging mud. It contains the mess brilliantly, meaning you can do it in the car boot or hallway without creating a swamp.
- Cons: Some dogs (hello, Fern) think it’s a torture device. It requires patient introduction with lots of treats. They can also be a bit of a faff to clean out themselves, especially with cold hands in a car park.
- The Verdict: Buster the Lab, who will do anything for a biscuit, tolerates it perfectly. For him, it’s a winner. For a wriggly, sensitive dog, you might struggle.
Don’t Forget the Finishing Touches
Getting the mud off is only half the battle. What you do next is just as important.
Drying is Not Optional: A dog with constantly damp paws is a candidate for yeast infections and sore skin. After washing, make sure you dry thoroughly between their toes and pads with a clean, dry towel. This is the step most people skip.
A Quick Inspection: With the paw clean and dry, have a quick look for any cuts, scrapes, or thorns you might have missed. Check those nails while you’re there.
Consider a Balm: If your dog’s pads feel rough or look cracked, especially after walking on gritty surfaces or in cold weather, a good quality paw balm can work wonders. It’s like a moisturiser for their feet. Just a thin layer before bed is plenty.
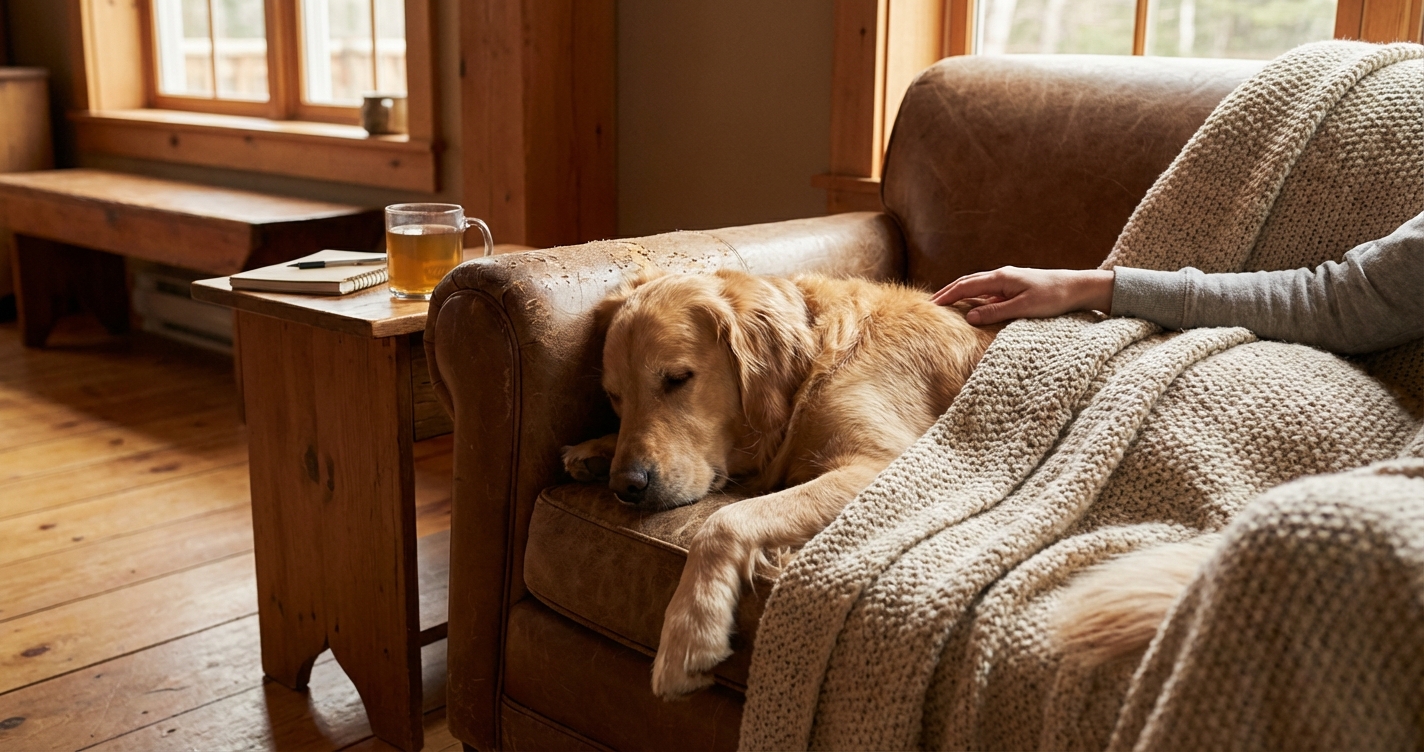
A Final Word From The Radiator
Ultimately, the best method is the one you’ll actually stick with. For us, it’s a quick once-over with the paw plunger in the boot to get the worst off, followed by a proper dry and check at the back door. It adds two minutes to the end of the walk and saves hours of cleaning the house.
Margo the cat, of course, has watched me write this entire article from her perch on the radiator. She’s just finished fastidiously cleaning one pristine white paw, and I’m sure I saw her roll her eyes. Some creatures just have it easier, don’t they?
Related Posts