From Muddy Paws to Peaceful Naps: Why We Bother with a Crate
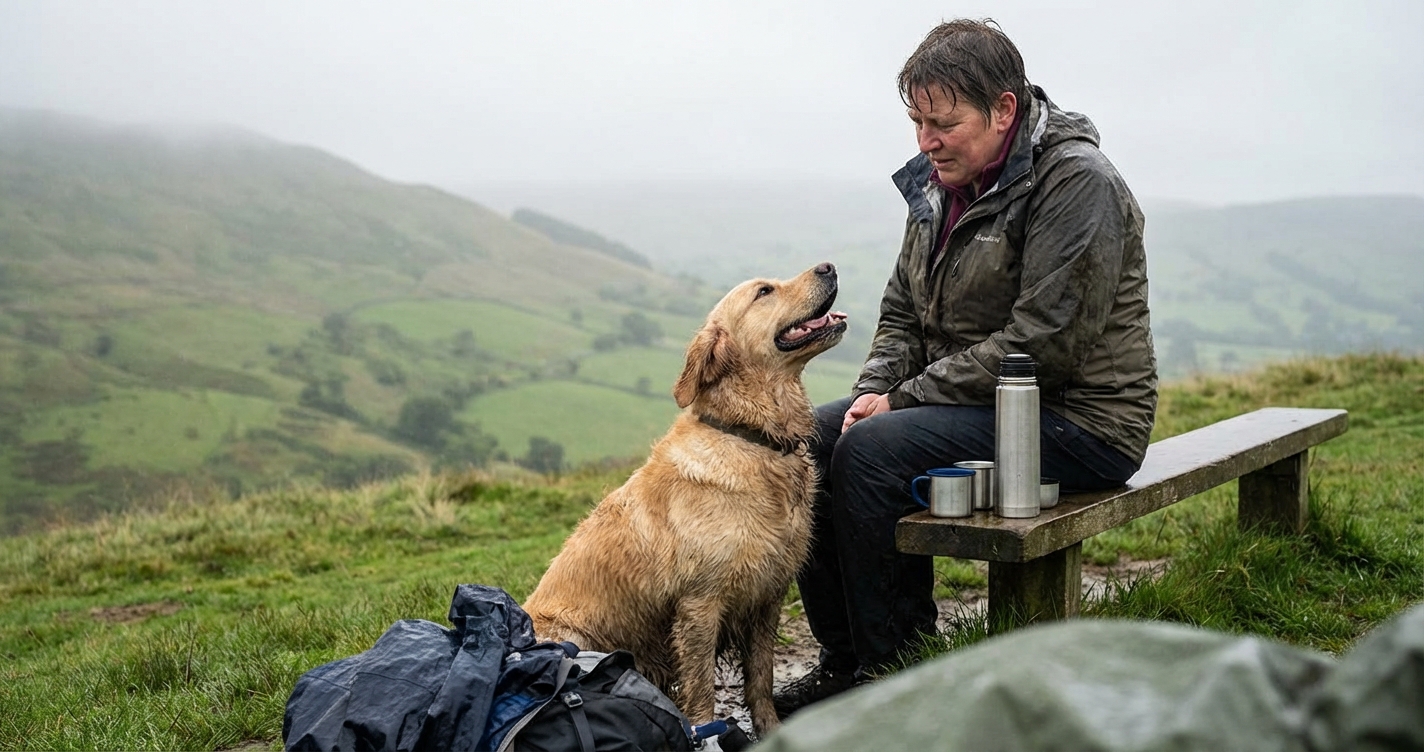
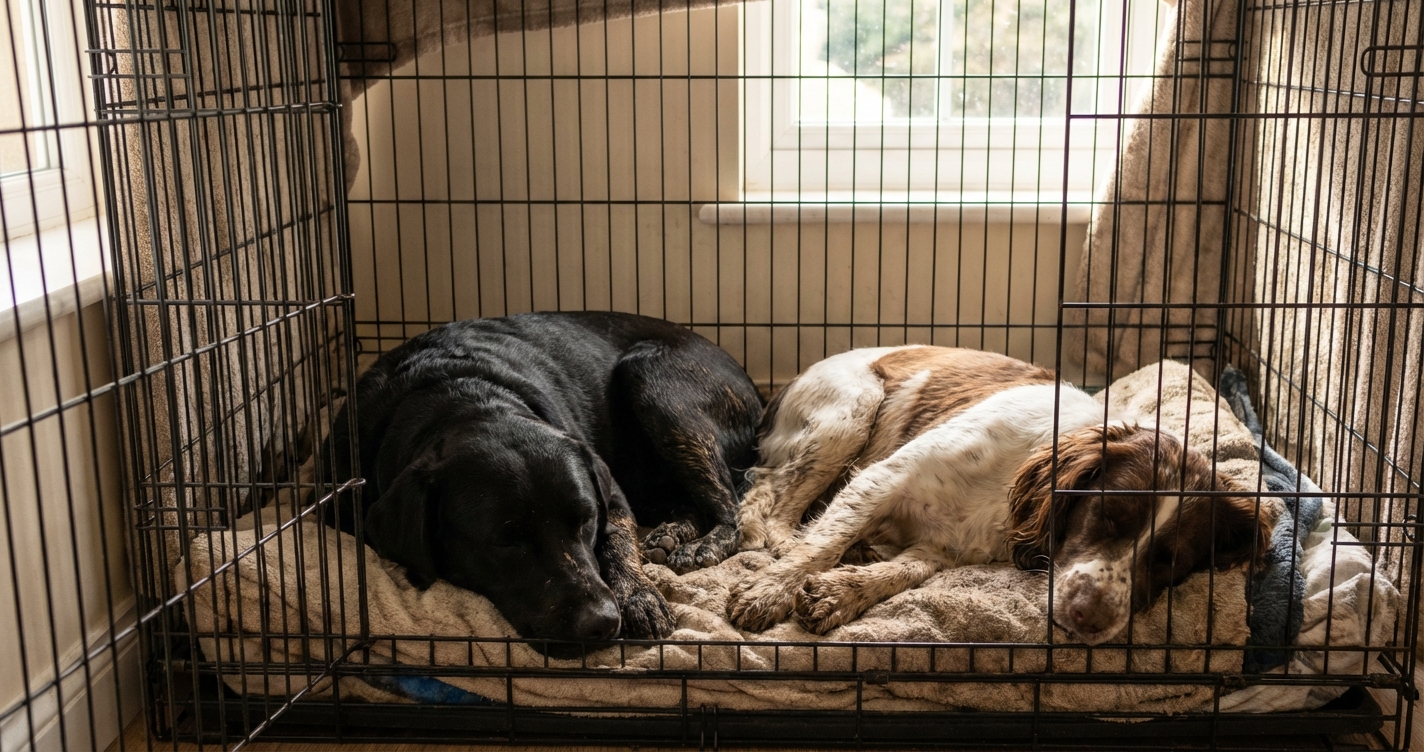
The other day, after a particularly squelchy walk up Mam Tor, I returned home with what looked like two mobile peat bogs. Buster, my Lab, was thrilled with his muddy makeover. Fern, the Spaniel, was vibrating with a mixture of rain, wind, and pure, unadulterated joy. The thought of letting them loose on the furniture was enough to make me shudder. But instead of chaos, they trotted straight to their crates, shook themselves down (mostly) inside, and settled in for a well-earned nap. That, right there, is the magic of the crate. It’s not a cage; it’s their own private, muddy, post-walk kingdom.
Lots of people feel a bit funny about crates, seeing them as little doggy prisons. I get it. But if you shift your thinking from ‘cage’ to ‘den’, it all clicks into place. It’s a safe, personal space where your dog can feel secure. Our board of directors—Buster, Fern, and even Margo the cat, who has claimed a cardboard box by the radiator as her personal fiefdom—all agree that a space to call your own is non-negotiable.
First Things First: Choosing Your Dog’s New Bedroom
Before you start, you need the right gear. It doesn’t have to be fancy, but it does need to be right for your dog.
- The Right Size is Crucial: Your dog should be able to stand up, turn around comfortably, and lie down fully stretched out. Any bigger, and they might decide one end is the bedroom and the other is the toilet. Not ideal.
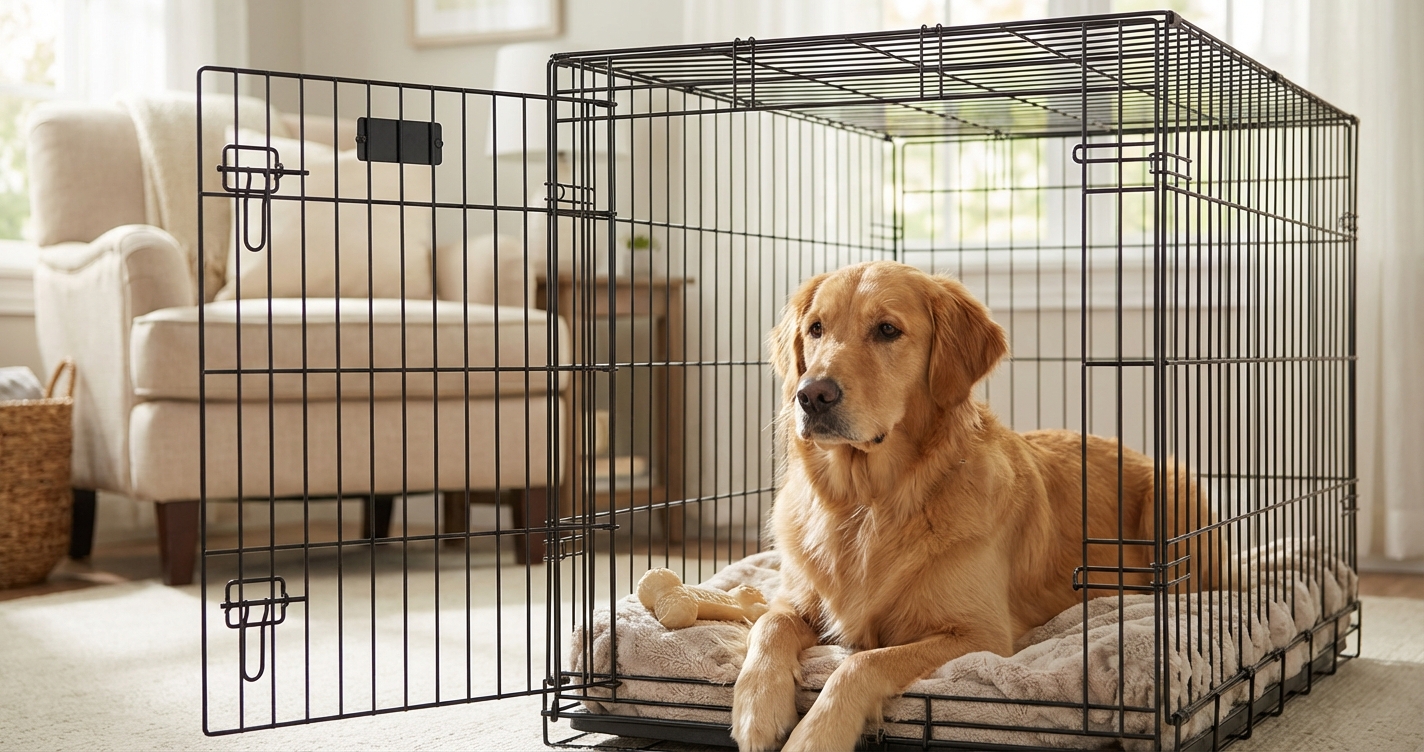
- Wire vs. Plastic: We’ve used both. Wire crates are brilliant for ventilation and letting the dog see what’s going on, but they can be a faff to clean. Plastic ones feel more ‘den-like’ and are easier to wipe down, but can get a bit warm. For a chewer like Buster was as a pup, wire was the only option.
The key takeaway: Make it comfy. Pop in some vet-approved bedding or an old blanket that smells of you. It should be the most inviting spot in the house.
The Gentle Art of Crate Training: A Step-by-Step Guide
Patience is your best friend here. This isn’t a race. The goal is to build a positive association. Think of it as convincing your dog that this new box is the best place on earth.
Step 1: The Grand Introduction
Set up the crate in a busy part of the house, like the kitchen or living room. Leave the door wide open. For the first day or so, just ignore it. Let your dog sniff and explore it on their own terms. Casually toss a few high-value treats (a scrap of cheese gets Buster’s attention every time) near it, then inside it. No pressure, no commands. Just make good things happen around the crate.
Step 2: Make it a Dining Destination
Start feeding your dog their meals inside the crate. At first, place the bowl right at the front with the door open. As they get more comfortable, gradually move the bowl towards the back of the crate. This builds a rock-solid positive link: Crate = Food. And for a Lab like Buster, there is no higher praise.
Step 3: Closing Time (Briefly!)
Once your dog is happily eating in the crate, you can try closing the door for a few seconds while they’re munching. Open it again before they finish. The goal is for them to barely notice the door was ever shut. Slowly, bit by bit, increase the time the door is closed. We’re talking seconds, not minutes, at this stage.
Step 4: Add a Cue Word
When your dog is starting to go into the crate willingly, you can give the action a name. Use a simple, happy-sounding word like “Bed!” or “Crate!”. As you toss a treat inside, say your word. They’ll soon link the word with the brilliant act of going into their den for a reward.
Step 5: Practice While You’re Home
Now, ask your dog to go into their crate at random times when you’re home. Give them a special toy that they *only* get in their crate, like a stuffed Kong. Close the door and stay in the room for a few minutes. Gradually increase the duration, starting with five minutes and working your way up. This teaches them that the crate is for chilling out, not just for when you’re leaving.
The Golden Rules: Crate Training Blunders to Avoid
Getting it right is as much about what you *don’t* do as what you do.
- It is a sanctuary, not a sin bin. This is the most important rule. Never, ever use the crate for punishment. Sending them there when they’ve been naughty will destroy all your hard work and create fear and anxiety.
- Don’t leave them for too long. A puppy can’t hold their bladder for hours on end. A good rule of thumb is their age in months plus one (so a 3-month-old pup can manage about 4 hours). Adult dogs can go longer, but it’s not a place to leave them all day while you’re at work.
- Keep your arrivals and departures low-key. Don’t make a huge fuss when you leave or get home. A calm, quiet exit and entry teaches your dog that being alone is normal, not a dramatic event.
- Don’t let them out for whining. This one is tough, but vital. If you let your dog out when they are crying or barking, you teach them that making a racket gets them what they want. Wait for a moment of silence, even a split second, before opening the door.
A Final Thought from the Trail
Crate training, when done with kindness and patience, is a gift to your dog. It gives them security, a place to decompress, and a safe spot when you can’t be there to supervise. It takes time, consistency, and a fair few biscuits, but the peace of mind—and cleaner furniture—is worth every second. Now, if you’ll excuse me, I’ve got two snoozing dogs to check on before the next walk calls.
Related Posts